Once the Nav. Markers module is enabled, you will see an extra ribbon button as shown below. For a description of how to enable the Nav. Markers module see Activating Licenses.
The Nav. Markers ribbon provides the following options:
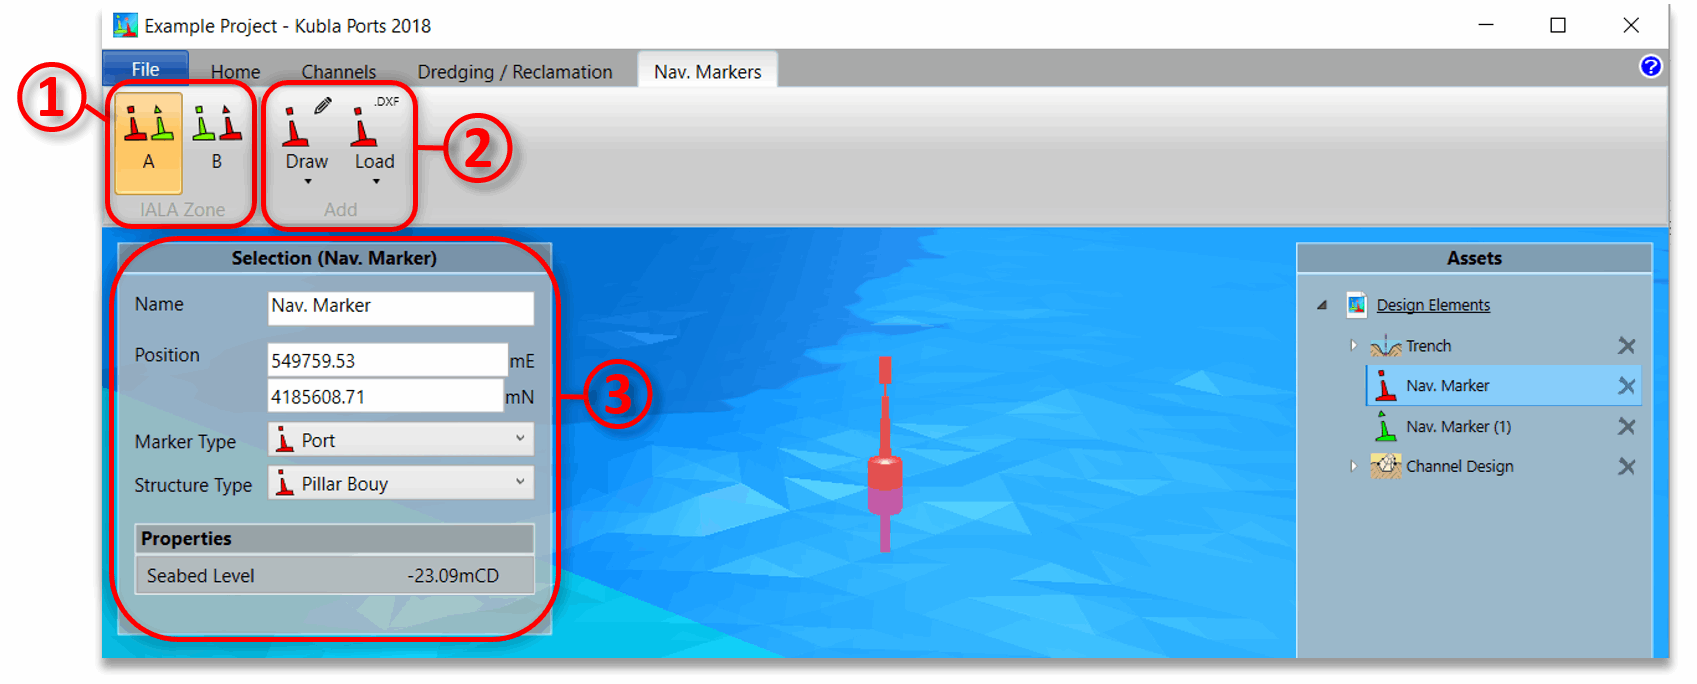
- ① Here you can set the IALA Zone for the project. This affects the appearance of lateral markers as they are different in each zone.
- ② Here you can add new navigation markers, either by drawing on the screen or from a file. If you click on the icon it will add the last type of Nav. Marker you added. You can change the type of marker to add using the arrow at the bottom of the button. Note the you can also add Nav. Markers to an asset by right clicking and using the pop-up menu as described here.
Once you have drawn a navigation marker you can select it on the screen or in the side panel and its properties will be shown in the selection pane on the left ③. The marker's properties are described below.
- Name. The name of the marker.
- Position. The X and Y position of the selected marker
- Marker Type. The type of marker - 'lateral' (port or starboard, channel divider port/starboard preferred), 'cardinal' (N, E, S, W), 'danger', 'safe water' or 'special'
- Structure Type. The structure type for the marker - 'Buoy', 'Pillar Buoy' or 'Beacon'
The Nav. Markers group can generate the following exports:
- Items Summary (.docx, .pdf). Exports a summary of the Nav. Markers that are contained in the group, including their properties and the seabed level.